How to Install REA and Connect It to Claude Code, Codex or Cursor (Step-by-Step, 2026)
Step-by-step REA install from the official docs: Node.js requirements, npx rea-agents setup, connecting Claude Code, Codex, Cursor and other agents, manual MCP config, doctor checks and updates.
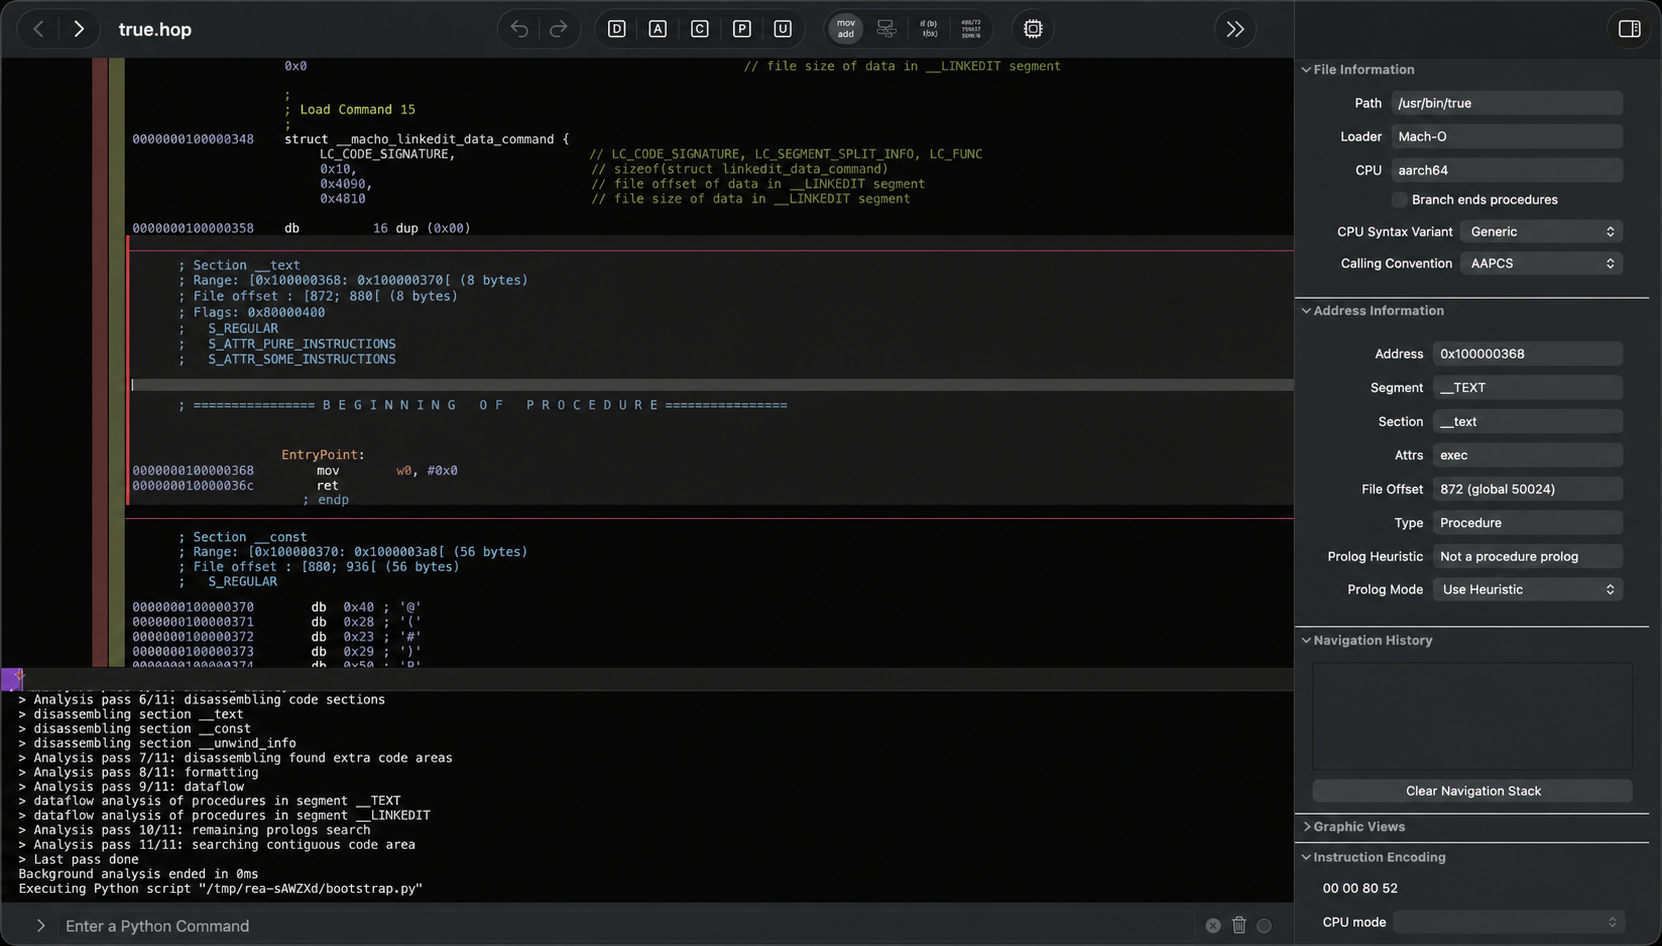
Short version: install Node.js 22.19+ (or 24.11+, or 26+), then run npx rea-agents setup. Pick your agent (Claude Code, Codex, Cursor and others), approve the plan, and restart the agent. That's the whole setup for JavaScript/Electron and .NET analysis. Native binaries also need Ghidra, Hopper or IDA, which is covered in our backend guide.
New to REA? Start with what REA is and why it blew up in October 2026. This guide only covers installation.
1. Check the requirements
| Requirement | What the docs say |
|---|---|
| Node.js | 22.x (>=22.19), 24.x (>=24.11), or 26+. Node 23, 25 and prereleases are unsupported |
| npm | The npm that came with that Node version (REA never upgrades Node or npm) |
| Bun (optional) | Works through bunx. rea update on a Bun global install needs Bun 1.2.17+ |
| Native analysis engine | Only needed for native binaries: Hopper, Ghidra 12.1.x or IDA |
| OS (native/Hopper baseline) | macOS 12+, Ubuntu 24.04+, Fedora 41+, Nobara 44+, 64-bit Arch, CachyOS, Omarchy. Windows: Ghidra only, experimental ("P0") |
Check your Node version:
node --version
2. Run guided setup
npx rea-agents setup
Use npx rea-agents@latest setup if you want the newest published release. Setup will:
- Show the supported agents in a multi-select list. Agents it detects are offered but not pre-selected. You choose them yourself.
- Show a plan with the exact config paths it will change, where the skill goes, and any external software (for example an optional Hopper install, which needs its own separate approval).
- Write nothing until you approve. It also backs up existing agent config and keeps unrelated MCP servers.
When it finishes, restart every agent named in the completion message. The new MCP server won't appear until you do.
3. Pick the right client (scripted setup)
You can skip the menu by naming clients with --client. The IDs from the docs include:
| Agent | --client value |
|---|---|
| Claude Code | claude_code |
| Claude Desktop | claude_desktop |
| Codex | codex |
| Cursor | cursor |
| Gemini CLI | gemini_cli |
| Windsurf | windsurf |
| VS Code | vscode |
| GitHub Copilot CLI | copilot_cli |
| Grok Build | grok_build |
| OpenCode / Qwen Code / Trae etc. | see the full table in docs/installation.md |
Preview the changes first. --dry-run doesn't write anything:
npx rea-agents@latest setup --client codex --client cursor --dry-run
Then apply them for those clients only:
npx rea-agents@latest setup --client claude_code --yes
Notes from the docs: --skill=false leaves out the bundled workflow instructions ("skill"). For Codex and Grok Build, setup adds startup_timeout_sec = 30. Setup pins the registration to the exact REA version that ran it.
4. Manual MCP registration (any other MCP client)
If your client isn't supported by setup but can run local MCP servers, the docs give this registration (REA is also in the official MCP Registry as io.github.morluto/rea):
{
  "mcpServers": {
    "rea": {
      "command": "npx",
      "args": ["-y", "rea-agents@6.4.0", "mcp"]
    }
  }
}
Use one exact version, like the example does, instead of a floating tag.
5. Verify it worked
npm install --global rea-agents   # optional: gives you a `rea` command on PATH
rea doctor --client claude_code --json
rea doctor only reads. It never changes anything. Scope it to the thing you care about. With no options it audits everything, so it can say healthy: false just because, for example, you haven't installed Ghidra, even when your JavaScript workflow works fine. Other useful checks:
rea doctor --skill --json: checks the installed workflow instructionsrea doctor --provider ghidra --json(orhopper,ida): checks one analysis engine
Then open your agent and ask something like the README's example:
Understand how search works in the Notes app, show me the evidence, and build a
similar feature for my project.
Swap in an app you own or are allowed to analyze. See our walkthrough for safe, practical first targets.
6. Prefer the terminal? Use the CLI without an agent
npx -y rea-agents@latest analyze-javascript-application /absolute/path/to/app --json
This statically inspects an extracted Electron app folder or an .asar file. It doesn't need a native engine.
7. Updating and uninstalling
REA ships fixes often. The README says to update before reporting bugs.
rea update                       # for npm/Bun global installs
npx rea-agents@latest setup      # refresh agent registrations if you use npx
rea uninstall                    # removes REA's agent registrations and skill files
rea uninstall --purge-data       # also removes REA cache/state under ~/.rea
Uninstall leaves Hopper, Node.js, your evidence files and other MCP servers alone.
Other install routes from the docs
- Skill only:
npx skills add morluto/rea --skill reverse-engineer-anythinginstalls the agent instructions only. It does not register the MCP server. - curl wrapper:
curl -fsSL https://raw.githubusercontent.com/morluto/rea/main/install.sh | bashinstalls the global npm package. Addbash -s -- --dry-runto preview. As with any piped installer, read the script first.
Hit an error? See REA troubleshooting and FAQ.
Facts and commands in this guide come from REA's official README and docs on GitHub (repository morluto/rea, npm release 6.4.0 checked by the project on 2026-10-11) and rea.tools. REA changes quickly. If something here doesn't match what you see, trust the current docs.
More in this REA series
- Background: What is REA? Timeline, the Adobe/Excel clone confusion and legal stakes
- REA with Ghidra, IDA or Hopper: Which Backend to Pick and How to Set It Up (2026)
- REA Tutorial: Analyze an Electron App, .NET DLL or Android APK You Own With Your AI Agent (2026)
- REA vs GhidraMCP vs IDA Pro MCP vs Binary Ninja MCP: AI Reverse-Engineering Tools Compared (2026)
- REA Troubleshooting and FAQ: Common Errors, Token Cost, Privacy and Staying Legal (2026)
- Legal context: Is reverse engineering games legal?
← Back to all posts